A friend of mine asked me to make a lettered piece for his young daughter. It was a quote from Yoda: "Do or do not. There is no try." and the color theme was to be pinks and greens. Challenge accepted! I've been doing quite a few lettered pieces, but this is the first one I documented with photos and a time lapse video (which is at the end of this post). I hope to document all of my major pieces, because it was an adventure in itself!
A lot of brainstorming happens in my head rather than on paper, but I did sketch out some thumbnails for this piece, as well as several lettering style ideas. Since we were going with pink and green, I wanted to incorporate some living things like vines and flowers.
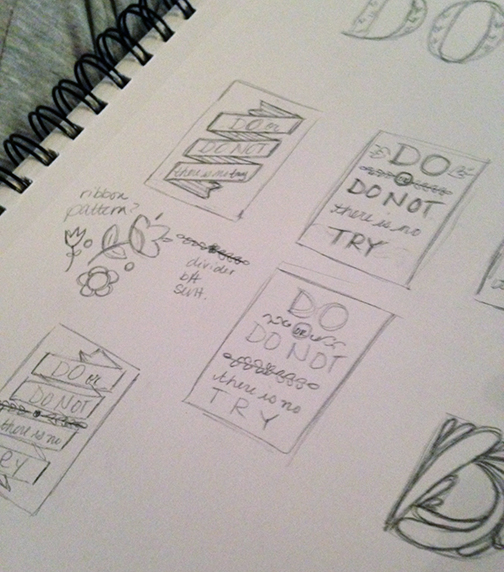
Initial thumbnail sketches (layout ideas only...well, there's a "D" over in the corner). These are just a few; my sketchbook is a sacred and scary place :)
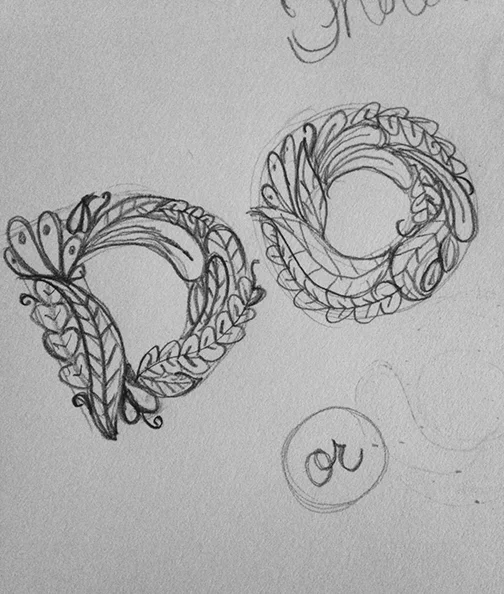
LOVED the idea of making the word "DO" in leaves, as though the word itself is flourishing and living.
After some serious sketching and analyzing, I found a layout that worked. I showed it to my friend and he loved it too. It's very rough, and the letters aren't designed in it, but the gist is there!
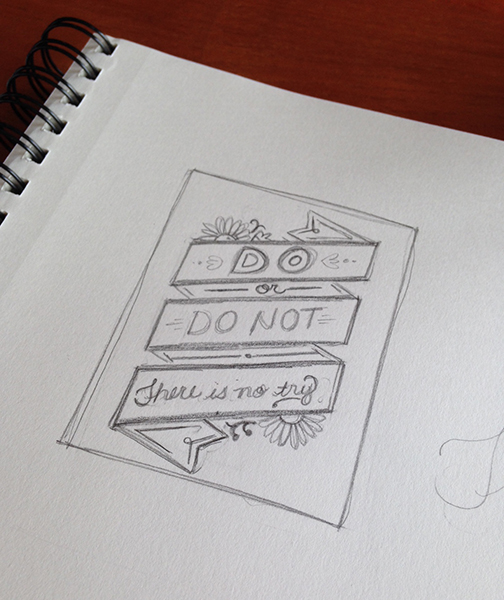
The final rough thumbnail sketch, which doesn't include type styles.
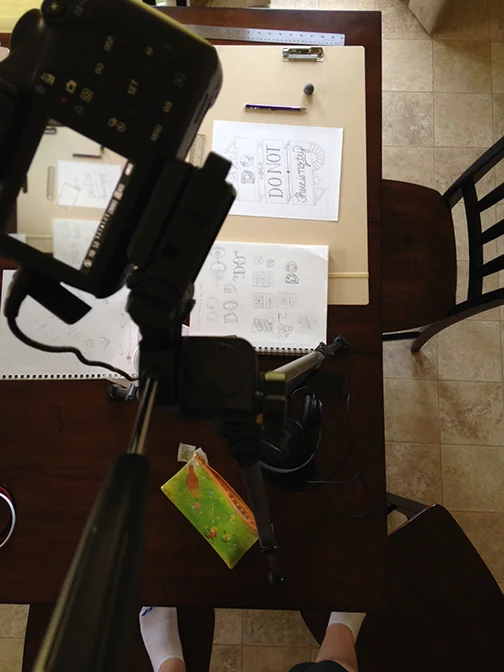
Once I had established my layout idea, I set up shop on my dining room table with my tripod from college (it's old and cheap). I used a Canon Rebel T3 and bought a shutter release with a timer. I set the timer to take a photo every 3 seconds. Let me tell you, it's somewhat unnerving to hear "click...click...click..." while you are working! Headphones ON. Actually, I'm going to see if I can turn that sound off...
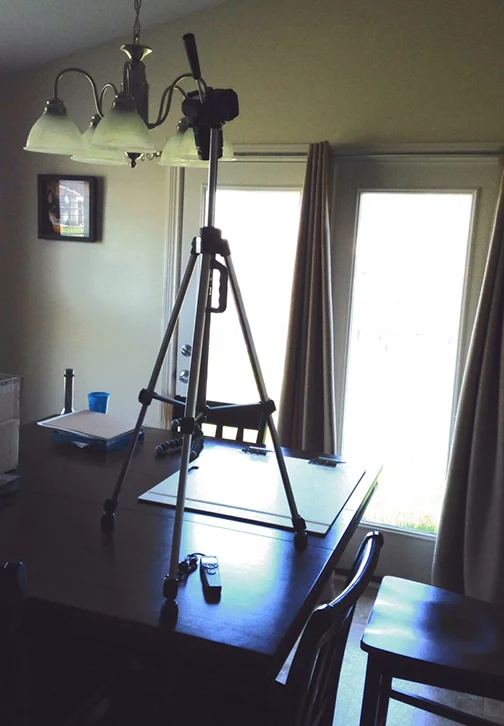
The most professional video studio that ever existed!
Once that was all set up, I set to work! Here's one of the 4000 photos that my camera took:
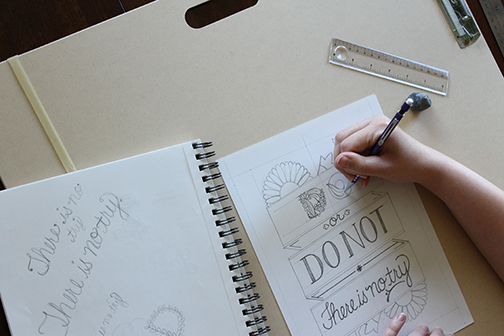
Yes, there were seriously 4000 photos. And that's just for the hand-drawing!
Checking out the lighting and view on my camera after taking a bit of a break. I may or may not be standing on 2 bar-height chairs to check it.
Socks + polished wood was a bad call. But don't worry, I didn't fall off.
For this piece, I wanted to incorporate some watercolor. I've been doing more of that lately, and I am by no means a painter...but I like the texture it brings to the finished piece!
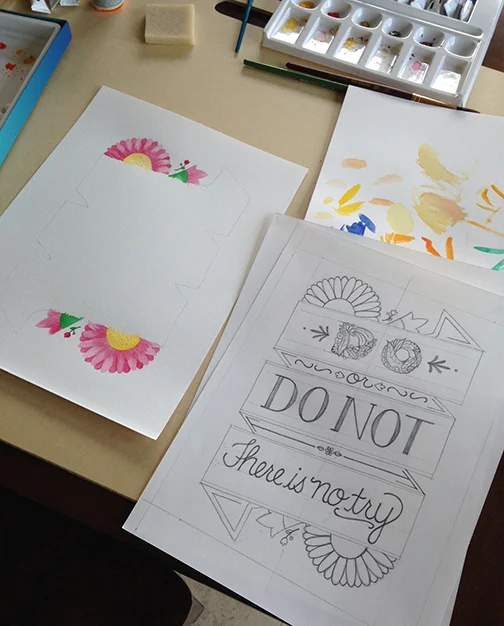
Here's the finished pencil drawing alongside some painted flowers.
Once all of the drawing and painting was finished (I also traced my final pencil drawing in ink), it was time to move to the computer! I set my iMac to take a screenshot every 5 seconds so I could document the computer work too. I ended up with about 1500 screenshots. I was pretty lucky -- I usually have to do more cleanup on my drawings, but I had tried a new marker paper for this project and it was pretty amazing.
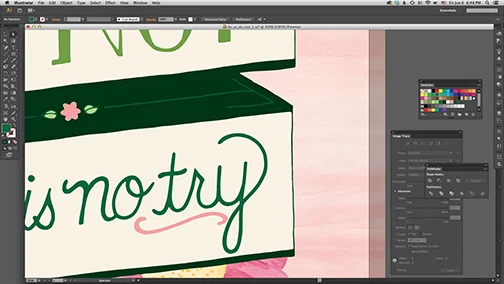
One of my 1500 screenshots. In this one, I'm smoothing out the lines in the letters.
And I present...the finished piece! It's on the grey background just for presentation. And the time lapse video is right below it. I made the video in Adobe AfterEffects. I had to fumble around in it to figure out what I was doing. but I got there ;)
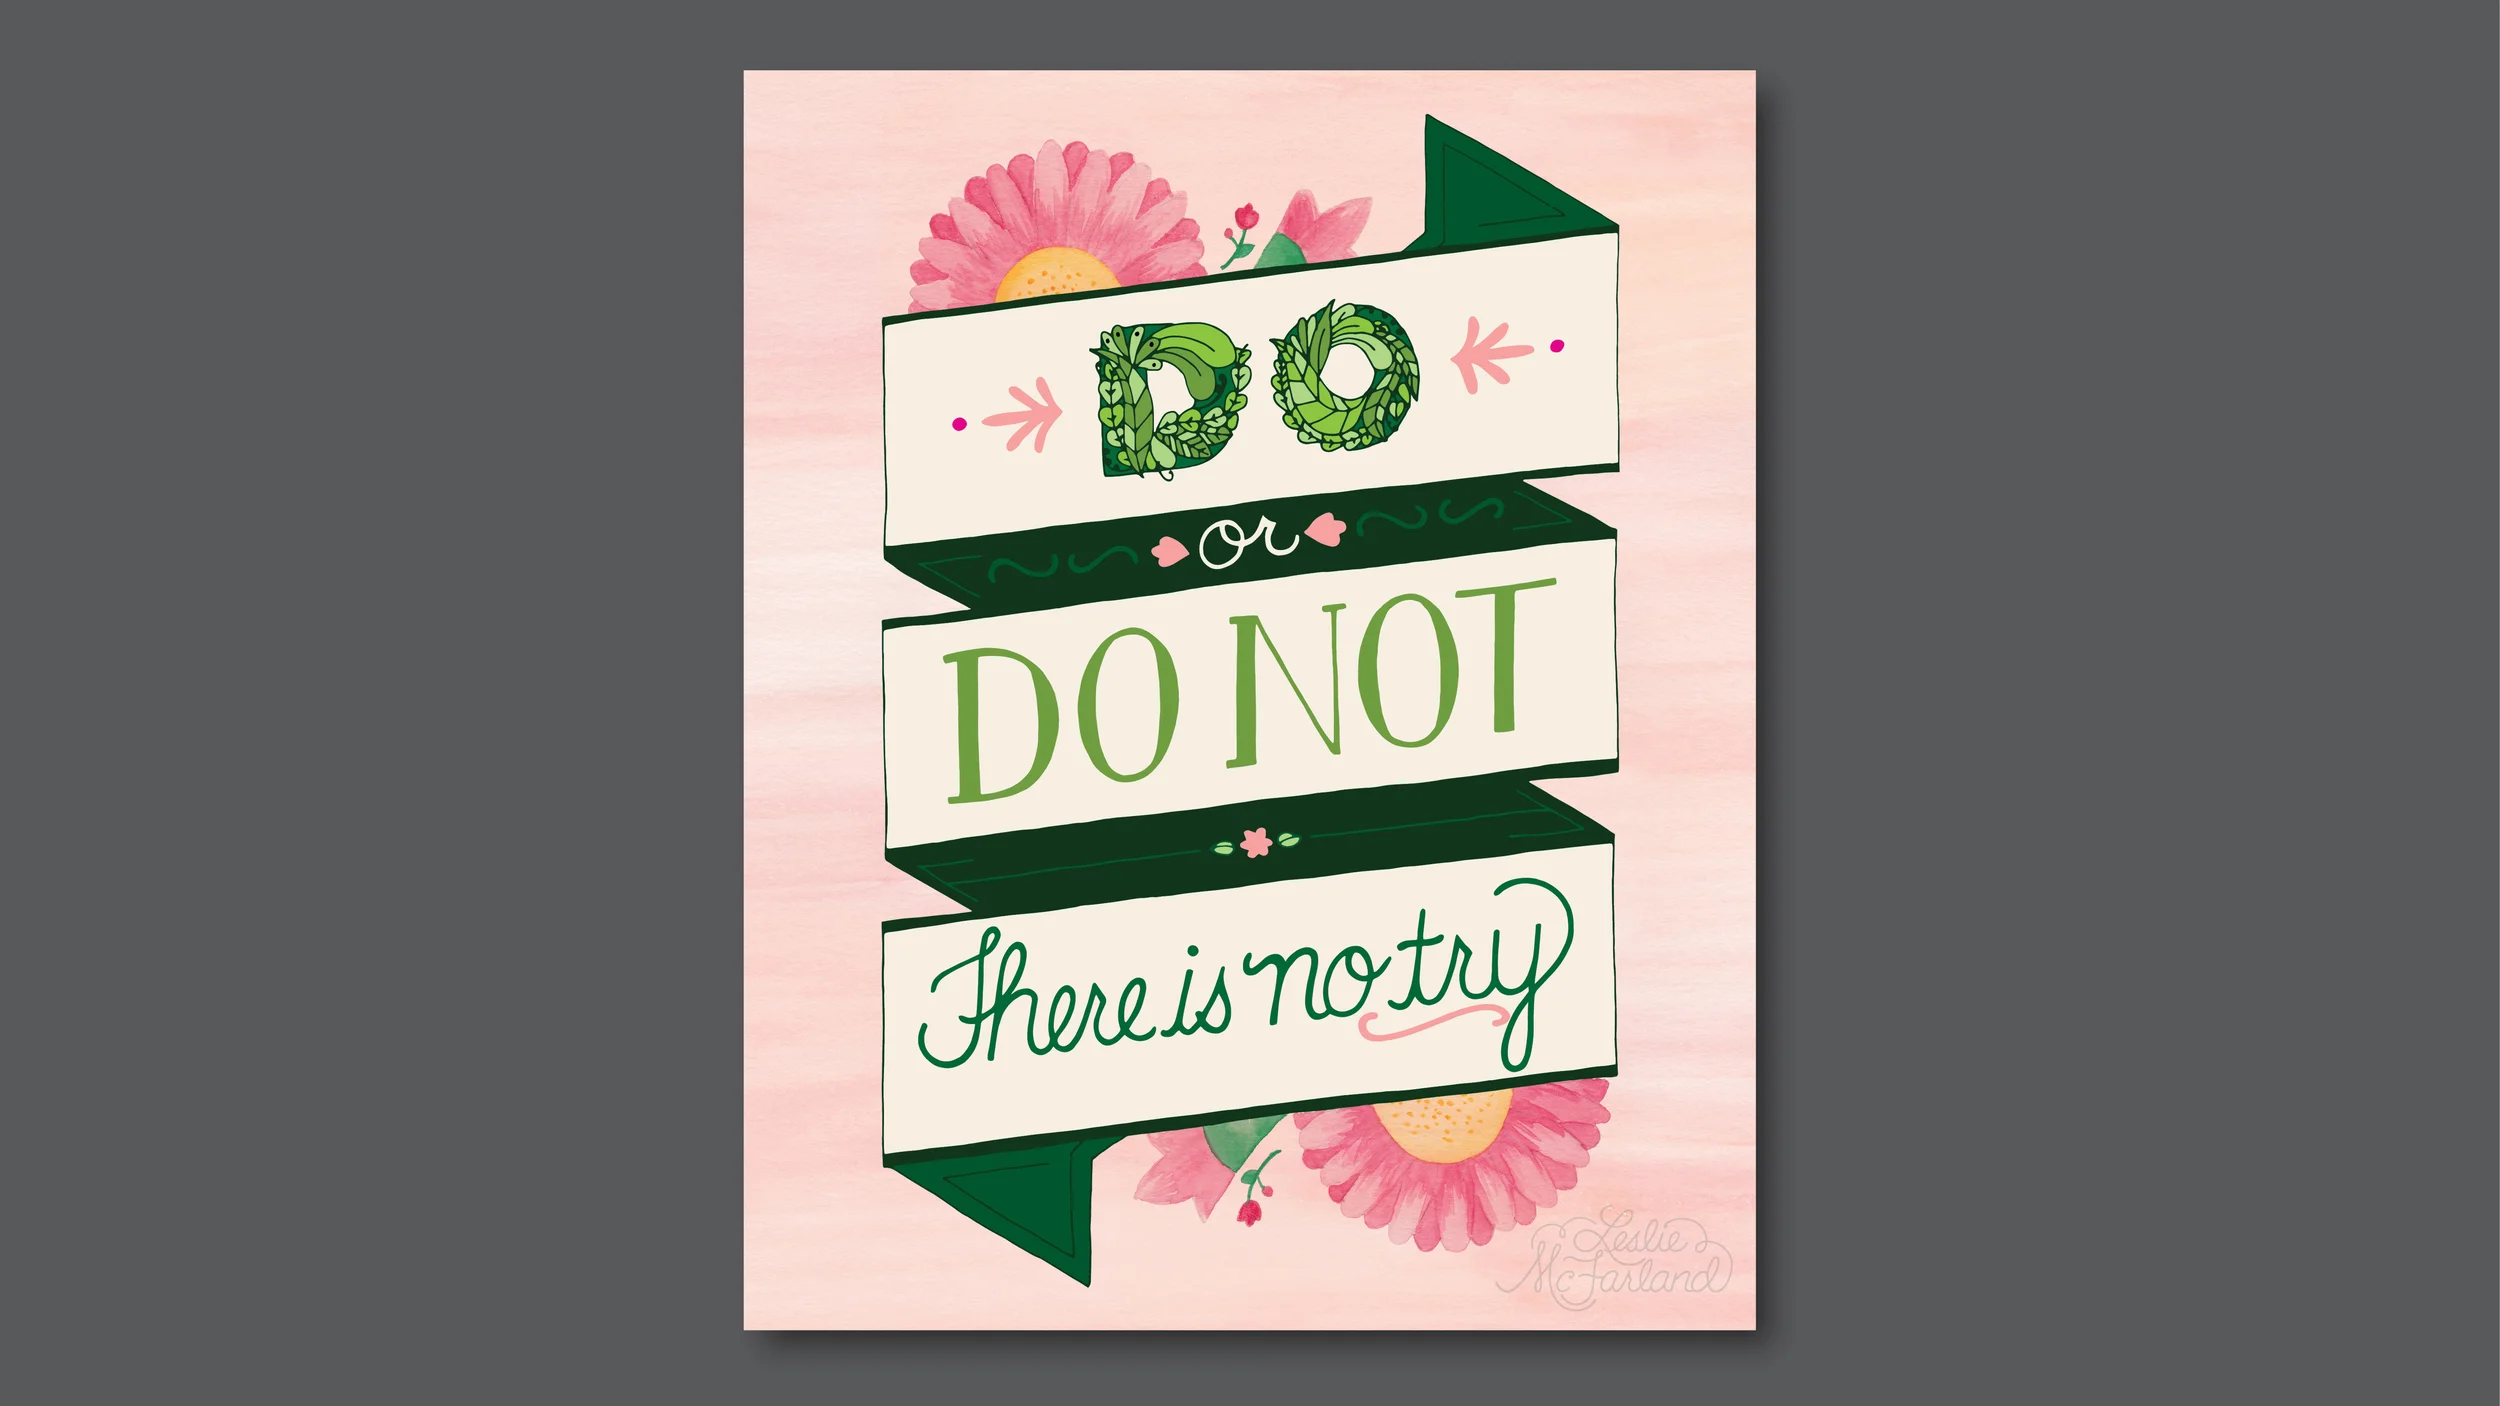
The finished piece!
Cheers!
Leslie