Digital painting

Hello and Happy New Year (a few days late)! It's been a while since I've written a post, mainly because I've been so busy and finding the time has been difficult. But I get really excited about learning new things, which is what I'm going to talk about today!

I've been trying my hand at digital painting. I've always been more of an analog artist so it was definitely an interesting (and somewhat daunting) thing to try. I used some very handy tools; the Astropad app (used with my iPad Air 2 and iMac) and the FiftyThree Pencil

First of all, the Astropad app is amazing. No one is paying me to say that; it genuinely is. I've tried to use Wacom tablets and there has always been a disconnect for me. This app lets me see what I'm drawing right there on the screen and it feels so much more natural to me. 

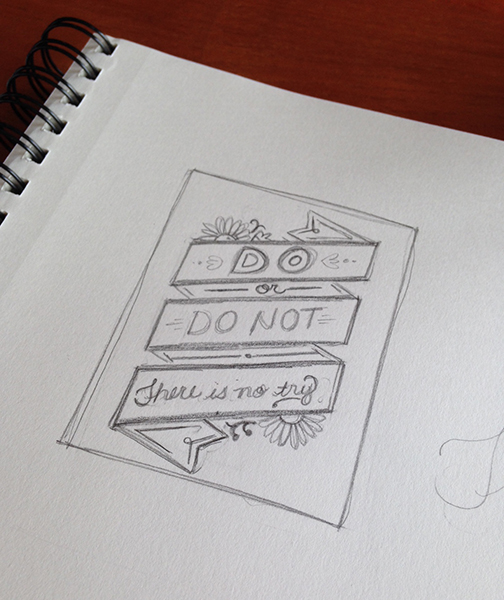
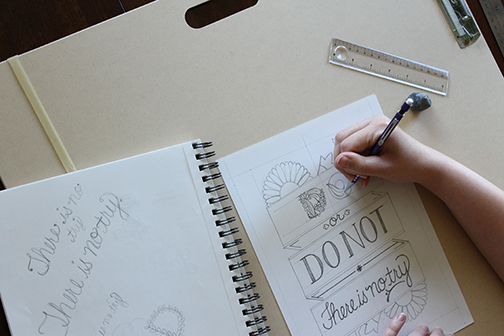
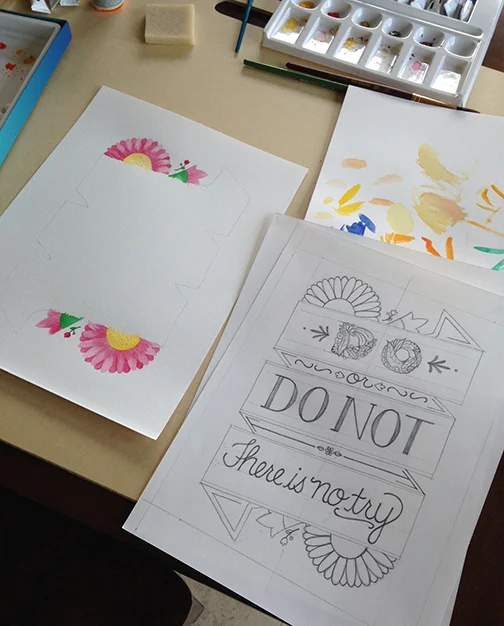
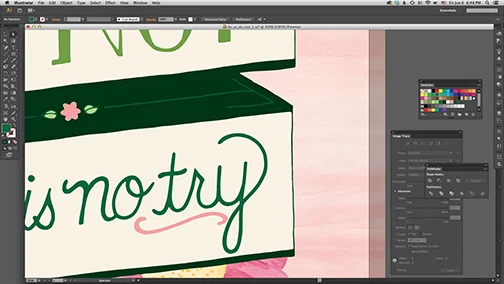
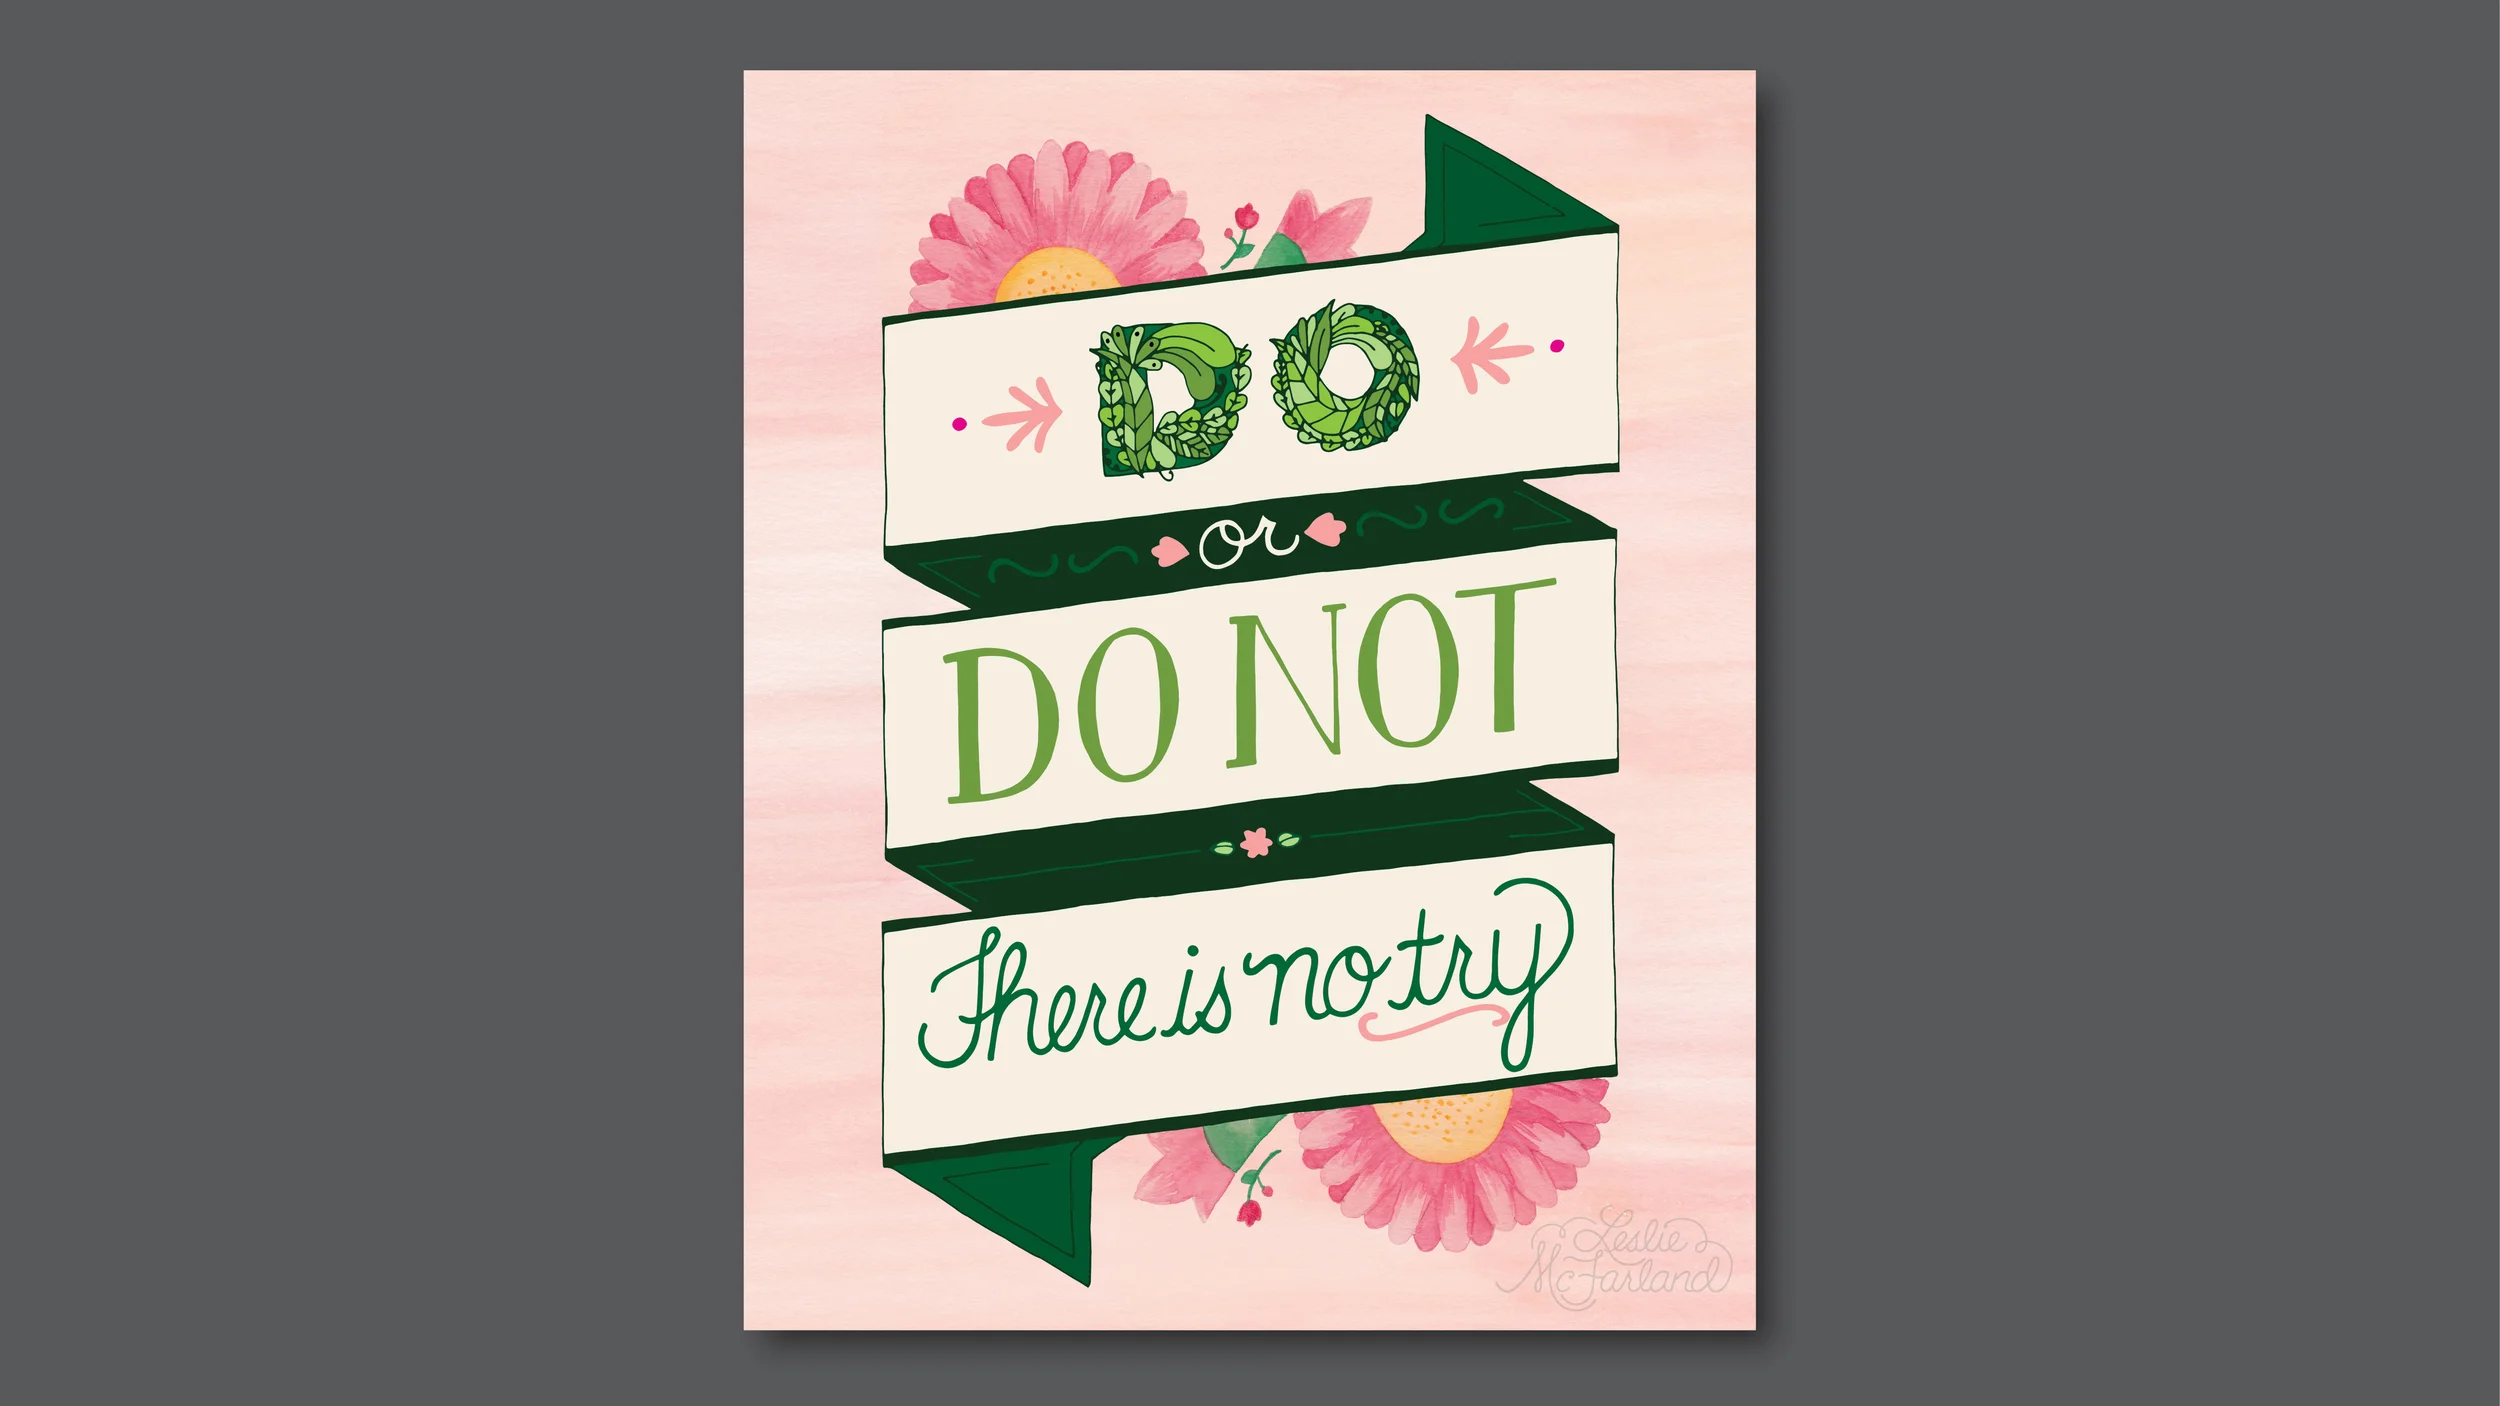
This whole thing kind of started when I wanted to make a cute little Valentine's Day card with otters. I always sketch by hand before any project, so that's where I started. Then I traced my drawing in Illustrator and that's when I decided to try to paint in Photoshop, for a new feel. Here's my sketch, my Illustrator drawing, and then my Photoshop painting:

I actually really like the Illustrator otters, but there is something warm and fuzzy about the Photoshop otters. 

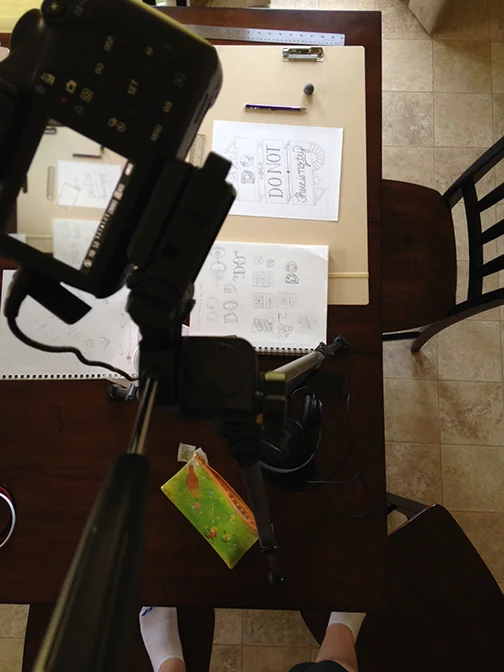
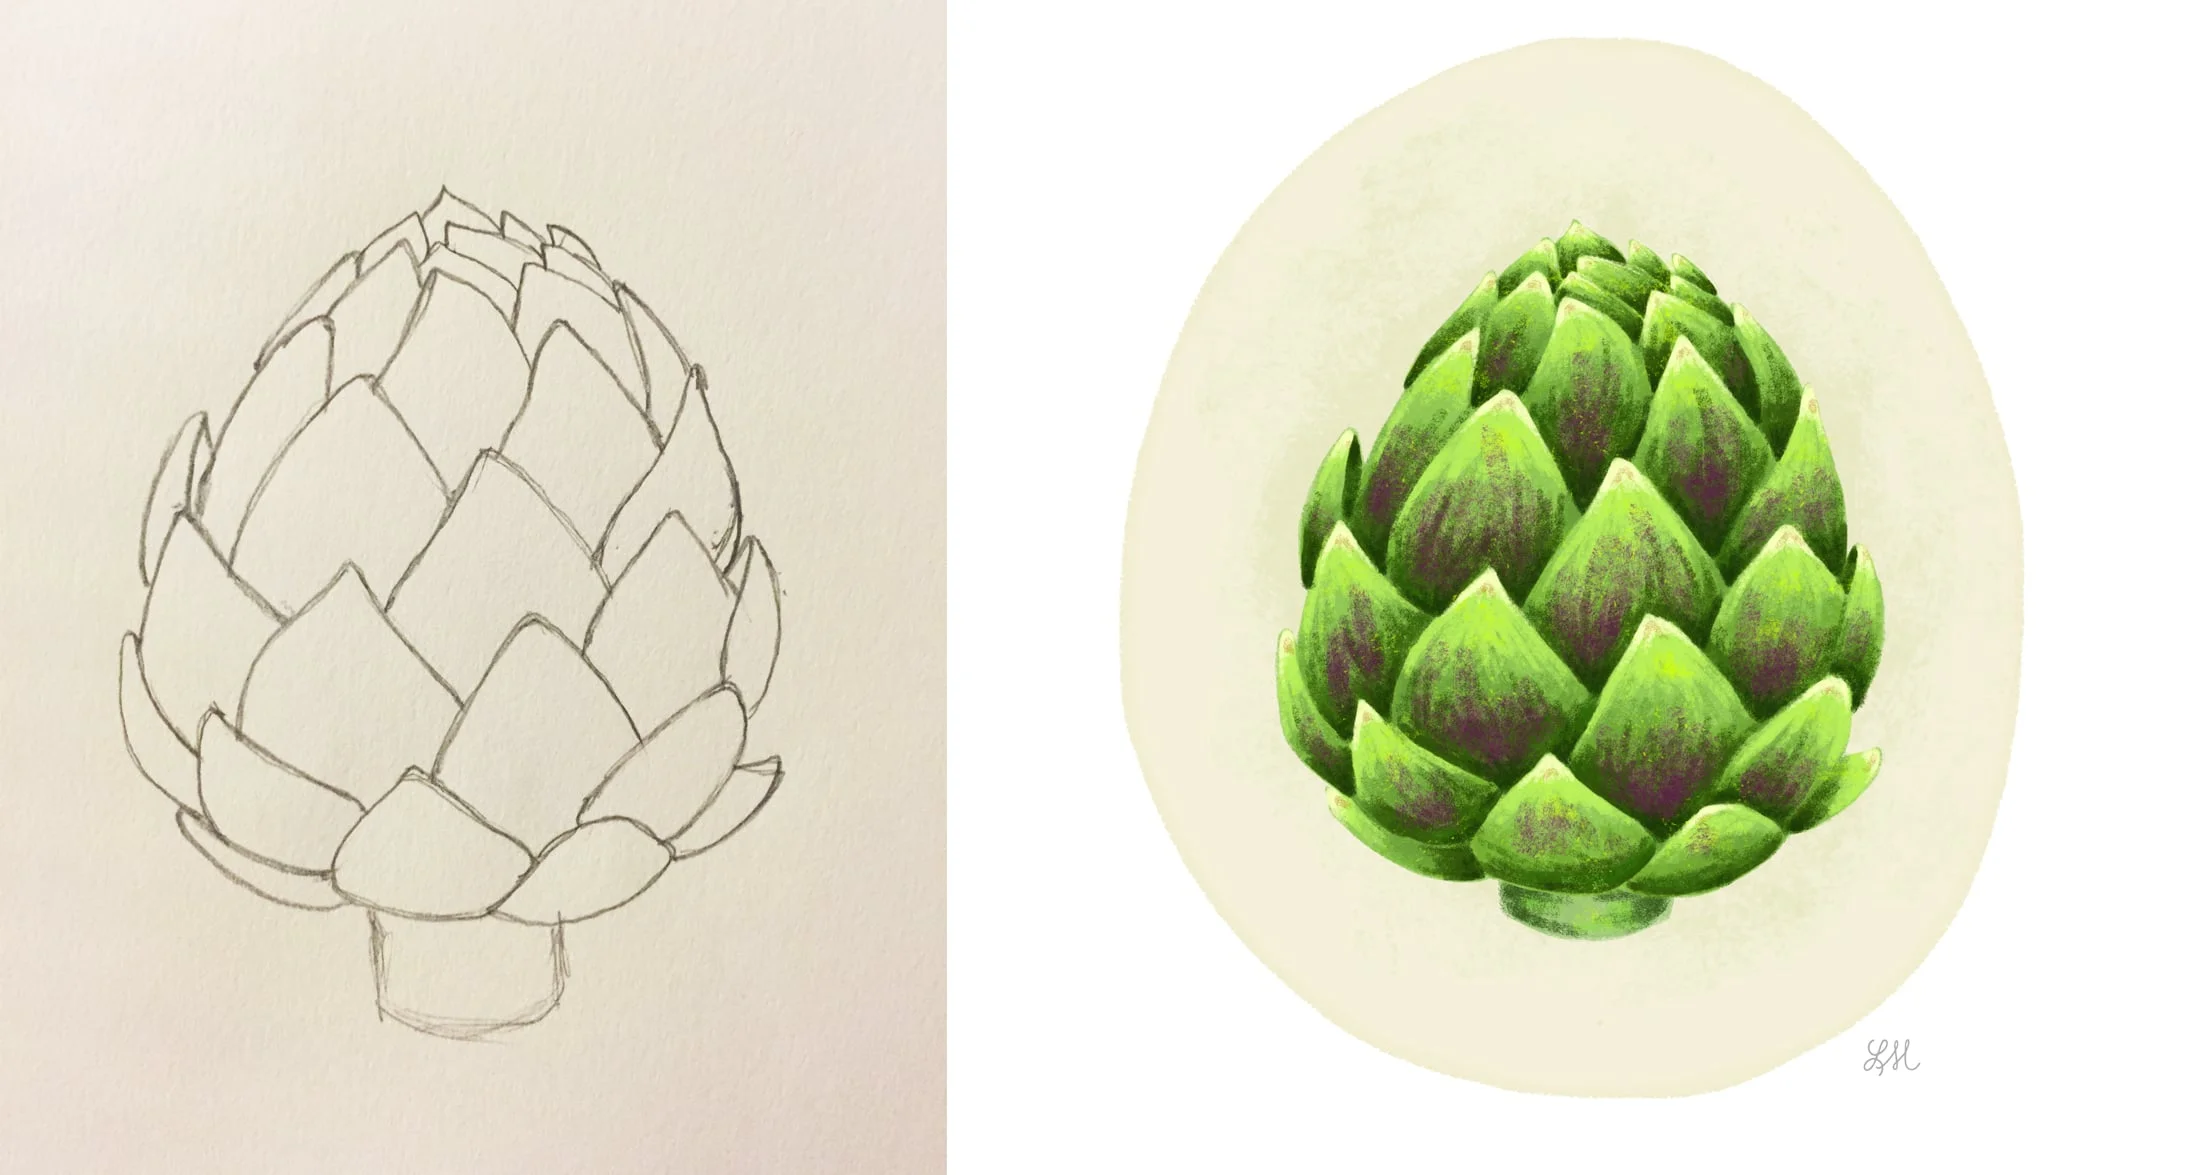
Then I started painting vegetables! That is totally random, but you gotta start somewhere. I painted 12 veggies in total. I started by doing Google image searches for the veggies and sketching by hand, then taking the drawing into Photoshop to use as a guide. Here are some drawings of an artichoke, followed by a time-lapse of an avocado painting:

So basically, I'm really enjoying painting this way! I've never considered myself a strong painter, but digital painting is much more forgiving. Maybe I should do pastries next...

Cheers!
Leslie

Behind the scenes: "Adventure is Out There"

This piece is inspired by the movie "Up". This wasn't made for anyone in particular, I just wanted to do it :) I'll have the artwork available as art prints and greeting cards (and possibly other goodies) in my Etsy shop soon; I'll include a direct link when it's ready!

I did a LOT of sketching for this piece, because I was having a hard time coming up with something that made me go "this is it!" I found myself becoming easily intimidated by the balloons. I just wasn't sure how to go about them, and depending on the option I chose...well, I could end up with hundreds of balloons. And then I had an internal debate over the house. Do I make it look like the house in "Up"? Or just any house? Or a really simple stylized house? After considering all of my options, I decided on a very stylized version of the house and balloons. 

Winner winner chicken dinner!

Winner winner chicken dinner!

I originally had something completely different in mind for the lettering, but I decided the style was too "safe" and that I could push myself further. It just didn't have a lot of feeling of adventure.

Here are loads of initial thumbnail sketches, and my original thought for the lettering. It's pretty but also kind of blah, which is why I pushed myself to make....

Here are loads of initial thumbnail sketches, and my original thought for the lettering. It's pretty but also kind of blah, which is why I pushed myself to make....

THIS! I really like this lettering treatment. It's much more dynamic, and it's unique and screams ADVENTURE! And I incorporated some birds to further integrate the sky theme.

THIS! I really like this lettering treatment. It's much more dynamic, and it's unique and screams ADVENTURE! And I incorporated some birds to further integrate the sky theme.

Once I had my styles figured out, and a thumbnail that I liked (it's the right-most thumbnail in the above photo), it was time to work on the final pencil drawing! Since I enjoyed making my first video so much, I decided to get some upgrades for my "photo studio" (read: dining room). I bought a fancy tripod with a reversible center column so that I can shoot from directly above the drawing board. I also got a soft box light to help even out the lighting situation. Of course I'm learning things as I go, which is part of the fun!

I've gone SUPER PRO! Fancy.

I've gone SUPER PRO! Fancy.

Time to draw! I set my remote shutter release to snap a photo every 3 seconds. I ended up with about 1500 photos. Here's a shot of the finished pencil drawing:

Next I traced the drawing with ink (oh, I also upgraded my light box! Woot woot!) and got everything scanned into the computer. I like for my drawings to have a hand-drawn quality, but I also want them to be clean. More clean than the semi-wobbly lines I end up with ;)

Doing some clean-up in Illustrator. Whoa, lines!

Doing some clean-up in Illustrator. Whoa, lines!

I set my computer to take a screenshot every 5 seconds, and I got just about 2000 by the time I was finished. Then it was time to compile my bajillion images (ok, 3500) into a video!

Sitting back and letting Photoshop do a batch edit on my drawing photos. The lighting was originally kind of cool, so I did a quick warming filter across the board.

Sitting back and letting Photoshop do a batch edit on my drawing photos. The lighting was originally kind of cool, so I did a quick warming filter across the board.

And I present the finished piece! 

What a fun adventure that was!

What a fun adventure that was!

Cheers!
Leslie

Behind the scenes: "Do or do not. There is no try."

A friend of mine asked me to make a lettered piece for his young daughter. It was a quote from Yoda: "Do or do not. There is no try." and the color theme was to be pinks and greens. Challenge accepted! I've been doing quite a few lettered pieces, but this is the first one I documented with photos and a time lapse video (which is at the end of this post). I hope to document all of my major pieces, because it was an adventure in itself! 

A lot of brainstorming happens in my head rather than on paper, but I did sketch out some thumbnails for this piece, as well as several lettering style ideas. Since we were going with pink and green, I wanted to incorporate some living things like vines and flowers.

Initial thumbnail sketches (layout ideas only...well, there's a "D" over in the corner). These are just a few; my sketchbook is a sacred and scary place :)

Initial thumbnail sketches (layout ideas only...well, there's a "D" over in the corner). These are just a few; my sketchbook is a sacred and scary place :)

LOVED the idea of making the word "DO" in leaves, as though the word itself is flourishing and living.

LOVED the idea of making the word "DO" in leaves, as though the word itself is flourishing and living.

After some serious sketching and analyzing, I found a layout that worked. I showed it to my friend and he loved it too. It's very rough, and the letters aren't designed in it, but the gist is there!

The final rough thumbnail sketch, which doesn't include type styles.

The final rough thumbnail sketch, which doesn't include type styles.

Once I had established my layout idea, I set up shop on my dining room table with my tripod from college (it's old and cheap). I used a Canon Rebel T3 and bought a shutter release with a timer. I set the timer to take a photo every 3 seconds. Let me tell you, it's somewhat unnerving to hear "click...click...click..." while you are working! Headphones ON. Actually, I'm going to see if I can turn that sound off...

The most professional video studio that ever existed!

The most professional video studio that ever existed!

Once that was all set up, I set to work! Here's one of the 4000 photos that my camera took:

Yes, there were seriously 4000 photos. And that's just for the hand-drawing!

Yes, there were seriously 4000 photos. And that's just for the hand-drawing!

Checking out the lighting and view on my camera after taking a bit of a break. I may or may not be standing on 2 bar-height chairs to check it.

Socks + polished wood was a bad call. But don't worry, I didn't fall off.

Socks + polished wood was a bad call. But don't worry, I didn't fall off.

For this piece, I wanted to incorporate some watercolor. I've been doing more of that lately, and I am by no means a painter...but I like the texture it brings to the finished piece!

Here's the finished pencil drawing alongside some painted flowers.

Here's the finished pencil drawing alongside some painted flowers.

Once all of the drawing and painting was finished (I also traced my final pencil drawing in ink), it was time to move to the computer! I set my iMac to take a screenshot every 5 seconds so I could document the computer work too. I ended up with about 1500 screenshots. I was pretty lucky -- I usually have to do more cleanup on my drawings, but I had tried a new marker paper for this project and it was pretty amazing.

One of my 1500 screenshots. In this one, I'm smoothing out the lines in the letters.

One of my 1500 screenshots. In this one, I'm smoothing out the lines in the letters.

And I present...the finished piece! It's on the grey background just for presentation. And the time lapse video is right below it. I made the video in Adobe AfterEffects. I had to fumble around in it to figure out what I was doing. but I got there ;)

The finished piece! 

The finished piece! 

Cheers!
Leslie